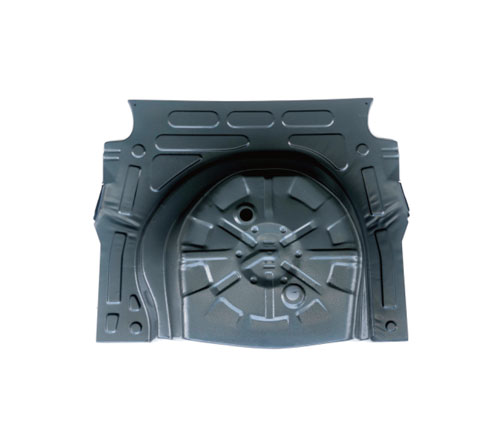
Rockwell hardness tester is used to test the hardness of automobile stamping parts. Small stamping parts with complex shapes can be used to test the plane is very small and can not be tested on ordinary desktop Rockwell hardness tester.
Hardware automobile stamping processing includes blanking, bending, drawing, forming, finishing and other processes. Stamping materials are mainly hot-rolled or cold-rolled (mainly cold-rolled) metal strip materials, such as carbon steel plate, alloy steel plate, spring steel plate, galvanized plate, tin plate, stainless steel plate, copper and copper alloy plate, aluminum and aluminum alloy plate, etc.
Price of automobile stamping parts
PHP series portable surface Rockwell hardness tester is very suitable for testing the hardness of these stamping parts. Alloy stamping parts are commonly used parts in the field of metal processing and mechanical manufacturing. Stamping parts processing is a method of separating or forming metal strips by means of dies. Its application range is very wide.
Automotive stamping parts manufacturer

Hardness testing of metal stamping materials, its main purpose is to determine whether the annealing degree of purchased metal sheets is suitable for subsequent stamping parts processing, different kinds of stamping parts processing technology, require different hardness levels of sheets. Aluminum alloy sheet used for stamping can be tested by Wechsler hardness tester. When the thickness of material is more than 13mm, it can be changed to Barkhault hardness tester. Pure aluminium or low hardness aluminium alloy sheet should be used by Barkhault hardness tester.
Automobile stamping parts
In the stamping industry, stamping is sometimes called sheet metal forming, but it is slightly different. The so-called sheet metal forming refers to the forming method of plastic processing using sheet metal, thin-walled tube, thin section as raw materials, which is generally called sheet metal forming. At this time, the deformation in the direction of thick plate is generally not taken into account.

1. Touch test.
Clean the surface of the outer covering with clean gauze. Inspectors need to wear touch gloves to touch along the stamping part vertically close to the surface of the stamping part. This inspection method depends on the experience of the inspectors. Whenever necessary, automobile sheet metal parts can be polished and verified by oil stone, but this method is an effective and rapid inspection method.
2. Oilstone grinding.
1. First, clean the surface of the outer covering with clean gauze, then polish it with asphalt (20 *20 *100mm or larger), with relatively small asphalt (e.g. 8 *100mm semi-circular asphalt) where there are arcs and where it is difficult to touch.
2. The choice of particle size of asphalt depends on the surface condition (such as roughness, galvanizing, etc.). Fine-grained oilstone is recommended. The direction of polishing is basically along the longitudinal direction, and it fits well to the surface of stamping parts. Some special places can also be supplemented by horizontal polishing.
3. Flexible yarn grinding.
Clean the surface of the outer covering with clean gauze. The surface of stamping parts is polished vertically with flexible sand mesh to the whole surface, and any pitting and indentation can be easily found.

4. Oiling inspection.
Clean the surface of the outer covering with clean gauze. Then use a clean brush to uniformly apply oil in the same direction to the entire outer surface of the stamping part. Put the finished oil stamping parts under strong light for inspection, and it is suggested that the stamping parts be erected on the body position. With this method, it is easy to find tiny pits, hollows and ripples on stamping parts.
V. Visual inspection.
Visual inspection is mainly used to detect abnormal appearance and macro defects of stamping parts.
6. Inspection of checking instruments.
Put the stamping parts into the checking fixture, and check the stamping parts according to the operating requirements of the checking fixture instructions.
Copyright By © Jiangsu Halreal Vehicle Industry Co., Ltd. Powered by Yicheng Network